 |
| Side light |
I began research on the various techniques and mediums and found all the needed information at http://galleryglassclass.blogspot.com/
The first step was to plan a design and the colour scheme. I do not have a 'before' picture of the window. Its basically a thin long window divided into 5 panels. Since its my first attempt I decided to keep it simple and replicate a design on all the panels. I chose to create a border and etch a design in the center. The materials used and the steps involved are described below.
Materials Used
1. Gallery glass: colours (yellow and red), etching medium, redi-lead, instant lead2. Blank stencil sheets
3. X-acto knife
4. Stencil brush
I bought all my supplies from Michaels.
Process
1. I first drew a border on the paper such that the size matched the window panel. This helped me decide the exact size of the central design. Then I sketched the design on the paper.

2. Next I taped the blank stencil sheet onto the paper and began cutting using the x-acto knife. This was the most time consuming part of the entire project.

3. Placed the redi-lead strips on the window to form the border for each panel. (no overlap) and sealed all the joints using liquid leading.
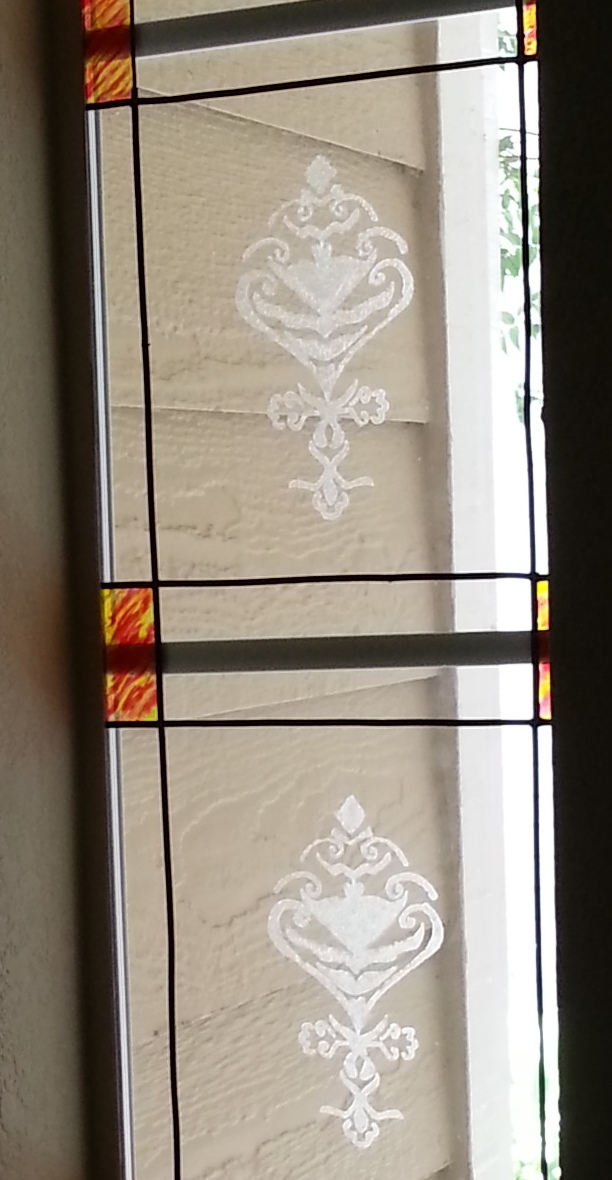
4. Now it was time for the colours. I wanted to create diagonal streaks of yellow and red in the corner boxes. I began by squeezing out yellow lines and randomly placing red lines in between. Then using a tooth pick I combed the two colours to merge them slightly. The first box I worked on ended up as a box filled with orange rather than a mix of red and yellow lines. Lesson learnt--don't over comb!! Since its the top most box I figured no one will notice ;)
5. After finishing all the corner boxes I moved on to the central design. I taped the stencil in the center of the panel and used the etching medium in a 'pouncing' motion to create the etched design. Continuig the process on the rest of the panels was easy.
I was very happy with the results of my first DIY project.

Fast forward 3 years and the paint still looks great.
No comments:
Post a Comment